-22.png)
Step-by-Step Guide to Detailing Your Car Like a Pro
Getting your car to look showroom-ready doesn't require a ton of fancy equipment or years of experience. Professional car detailers follow a straightforward process that any car owner can replicate at home with the right tools and a bit of patience. The secret is breaking the job into manageable steps: prep, wash, dry, polish, wax, and finish. Each stage builds on the last, so cutting corners early means your final result won't hit that next-level shine. This guide walks you through everything from gathering supplies to buffing out that mirror finish.
Gather Your Supplies
Round up everything you need before you start so you're not running back and forth to the garage mid-wash. Grab a quality car wash shampoo, a microfiber wash mitt, and a soft drying towel. You'll also want some detailing brushes for tight spots, a clay bar kit to pull out contaminants, and a polish or compound for paint corrections. Pick up a solid wax or sealant to lock in that shine once you're done. For the interior, have a vacuum, interior cleaner, glass cleaner, and a stack of microfiber cloths ready to go.
Pre-Wash Preparation
Don't skip the pre-wash. This step makes the actual washing way more effective. Start by rinsing the whole car to knock off loose dirt and debris. Hit it with a pre-wash solution to break down caked-on grime and bug guts. Use a soft detailing brush to gently work any problem areas with heavy buildup. The wheels and wheel wells deserve extra attention since they collect the most brake dust and road filth. Check the body for tar spots or tree sap, too. You'll need a specialized remover for those.
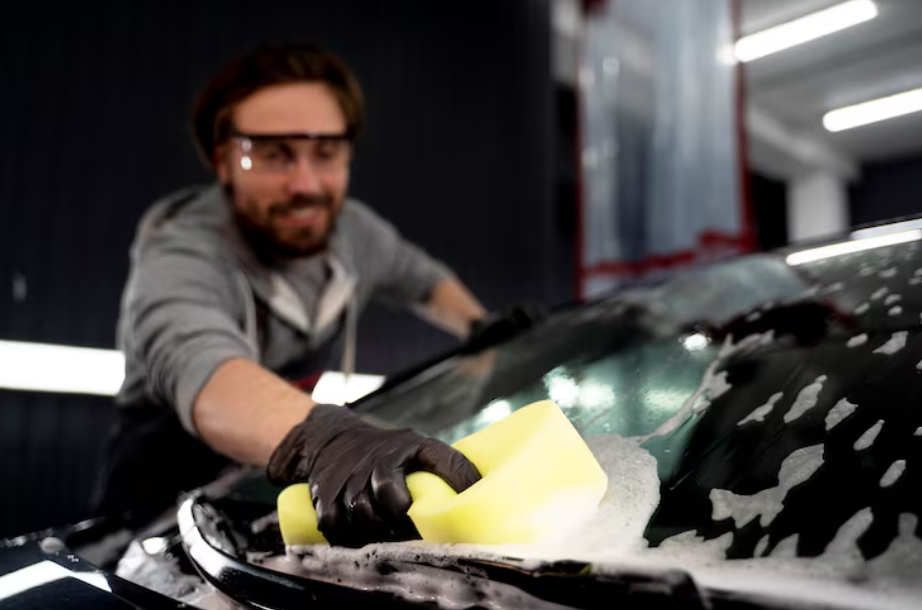
Washing and Drying
Wash from the top down using your car shampoo and microfiber mitt. Rinse off loose debris before applying soap to avoid dragging dirt across the paint. Keep a separate mitt for the wheels to avoid spreading brake dust onto your panels. Once you've covered every surface, dry the car with a clean microfiber towel to prevent water spots. Start at the roof and work your way down, patting the surface dry rather than wiping. Don't forget seams, door jambs, and crevices where water likes to hide and drip out later.
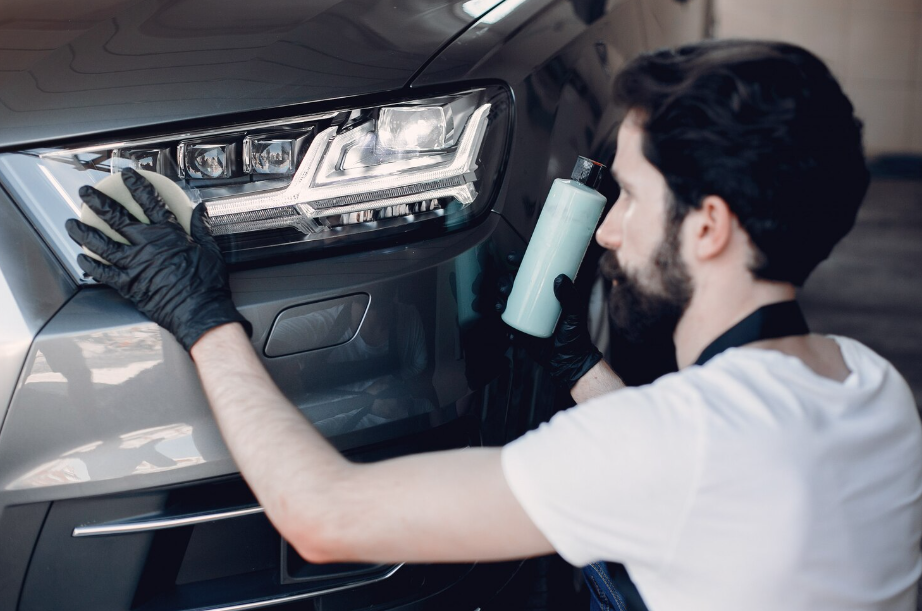
Polishing and Buffing
Pick a polish compound that matches your paint type. Different finishes need different products. Put a small dab of compound on a foam or microfiber applicator pad and work in small sections. Use overlapping strokes with steady, even pressure to achieve uniform coverage. Keep the pad flat against the surface and move at a moderate speed to avoid swirl marks. After polishing each section, buff with a clean microfiber cloth to wipe away residue and bring out that high-gloss shine.
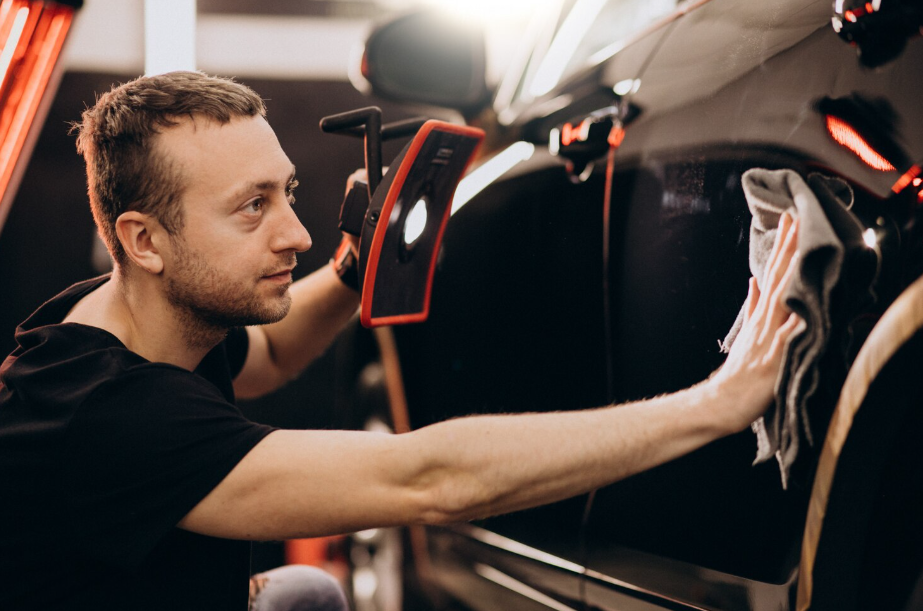
Waxing for Protection
Wax is your paint's armor against UV rays, water spots, and environmental gunk. Go with a quality carnauba or synthetic wax made for automotive use. Make sure the surface is totally clean and dry before you start. Trapped dirt particles will scratch the paint. Apply the wax with a foam pad or a dual-action polisher, working in small sections in back-and-forth motions. Let it haze over, then buff it off with a fresh microfiber towel. You'll be left with a deep, lasting shine that actually protects the clear coat.
Finishing Touches
A quick detailing spray adds an extra pop of gloss and helps repel water and contaminants between washes. Use a clean microfiber cloth to avoid scratching the surface you just perfected. Mist the spray onto small sections one at a time, then buff it out with another clean cloth for a streak-free finish. Hit the details, too, emblems, trim pieces, and any areas that might've been missed. These final touches are what separate a decent wash from a legit pro-level detail.
Related Topics: